
How to make kombucha: a beginner’s guide

There are as many different opinions on how to make kombucha as there are delicious variations of it. In this post I’ll outline how I have been making a simple, uncomplicated yet refreshing and healthy kombucha for the last ten years. I share everything I’ve learnt along the way including advice on equipment, ingredients and process. And also talk about kombucha’s benefits for gut health.
Making your own kombucha is incredibly easy so I encourage you to take the leap!
But first, why should you bother making your own kombucha?!
Benefits of making kombucha
Homemade kombucha is cheap
Amazingly cheap! After you’ve bought the equipment, each 10L batch costs only a bit of sugar and some tea bags. That is incredible value compared to what commercial kombucha costs in stores.
Diversity of microbes
A healthy SCOBY (see below) used to make homemade kombucha contains a diverse array of bacteria and yeast. Whereas commercial versions of kombucha often have only one strain of bacteria.
Make it how you want it
Modifying your own kombucha to how you like it is easy. You can change up the teas, brew to your desired level of sourness, or add fruit or other ingredients to the bottle to suit your tastes.
Plastic vs glass fermenter
You’ll find varying opinions online about whether it is safe to ferment in plastic. Some claim that plastic shouldn’t be used because chemicals might leach into the kombucha, however I’ve never seen any evidence to back that up. Food grade plastic is designed to hold liquids far more acidic than kombucha, so in my opinion there is no issue with using plastic - as I have been doing for a decade.
However, if you have concerns you should just use a glass fermenter.
Benefits of a plastic fermenter
For me, the benefits of a plastic fermenter to brew kombucha are too many to ignore.
They are lightweight
They are not dangerous if dropped
They have a wide opening and are easy to clean
They often have a tap (or one is easily added)
They are cheap
Kombucha equipment and ingredients
Below you will find everything you need to get started.
What I look for in a fermenter
Here are the must haves for me:
It should be around 10-15 litres
It should have a tap around an inch up from the base. And the tap should be easily removable for cleaning
Wide mouth
Measurement markings
A bucket-style handle is helpful for carrying
Here’s the fermenter I currently use:

Swing-top bottles
I generally make 10 litre batches of kombucha so you will need 8-9 litres of swing-top bottles. These bottles are best because if the fermentation is strong in the bottle, it won’t explode but rather let out gas or leak a bit around the seal.
I’d suggest using 1 litre bottles for less filling and cleaning, but 500ml bottles will work fine also.
Swing-top jar
A 1 litre swing-top jar is usually needed to store the SCOBY between batches (more on this below). Again, the swing-top lid allows the jar to safely discharge gas and liquid if needed.
SCOBY
The all important SCOBY! A SCOBY is a symbiotic colony of bacteria and yeast. This houses all the microbes which will ferment the sugar and multiply, while also producing enriching postbiotics for your gut.
Getting a quality SCOBY is key as this is the starting point for what probiotics will be present in your kombucha. Ideally you want a SCOBY with as many different strains of bacteria in it as possible. To do this, I usually buy a SCOBY from two different, well-rated online shops on Amazon which hopefully ensures a diverse range of microbes in my brew.

Here’s my SCOBY in a jar
Teas
I use a mixture of oolong and green teas because I find black tea too strong and bitter. Incorporating oolong is a good compromise because it is semi-oxidised, sitting between a black and green tea. It gives a more robust flavour without excessive bitterness in my opinion.
The amount of tea bags you add can be adjusted for your desired level of caffeine. I’m quite sensitive to caffeine so the ratios given in the recipe below give me a decent wake up without an anxious rush :) If you’re more tolerant to caffeine, you might want to increase the amount of tea bags. I’d suggest increasing it only by 10-20% at a time though and assessing it after each batch.
Below are the teas I use - both found on Amazon UK.

Sugar
I use simple granulated white sugar. Although less processed brown sugars have more minerals, I use white sugar because it is the most readily available for the bacteria and yeast to eat and will hopefully make for the easiest and quickest fermentation. If you want to use other sugar though, I’m sure that would be viable also, but with perhaps less efficiency.
Also, don’t be concerned about the amount of sugar going into the brew from a health point of view as this sugar will almost all be eaten up by the bacteria and yeast!
Raw apple cider vinegar
This is an optional extra but I add some into the brew because of its potential health benefits.
Fruit
If you want, you can add some fruit or other ingredients like ginger, hops, herbs or spices when you bottle your kombucha.
Here are some fruits (frozen or fresh) I’ve added in the past:
blueberries
cherries
raspberries
strawberries
blackberries
pomegranate syrup
While it’s fun to experiment, the natural taste of kombucha is fantastic so I often don’t add any fruit. I find my kombucha has a nice tart, apple cider-like taste with no further flavour additions. But a lot depends on your SCOBY, the type and amount of tea used and the length of brewing.
Getting started for the first time
Brewing kombucha is simple, however when you first use a SCOBY you need to scale it up slowly so the colony can become strong enough to deal with the 10 litre batch we’re aiming for here. This means you should first do a 2 litre batch with your new SCOBY, then move on to a 5 litre batch, then 8 litres before getting to 10 litres.
The recipe below is for 10 litres so divide everything by 5 for the 2 litre batch, then divide by 2 for the 5 litre batch etc.
Kombucha-making process and recipe
Ingredients
400g of sugar
10 bags of green tea
5 bags of oolong tea
200ml apple cider vinegar
Fruit for flavouring (if desired at bottling stage)
Brewing process
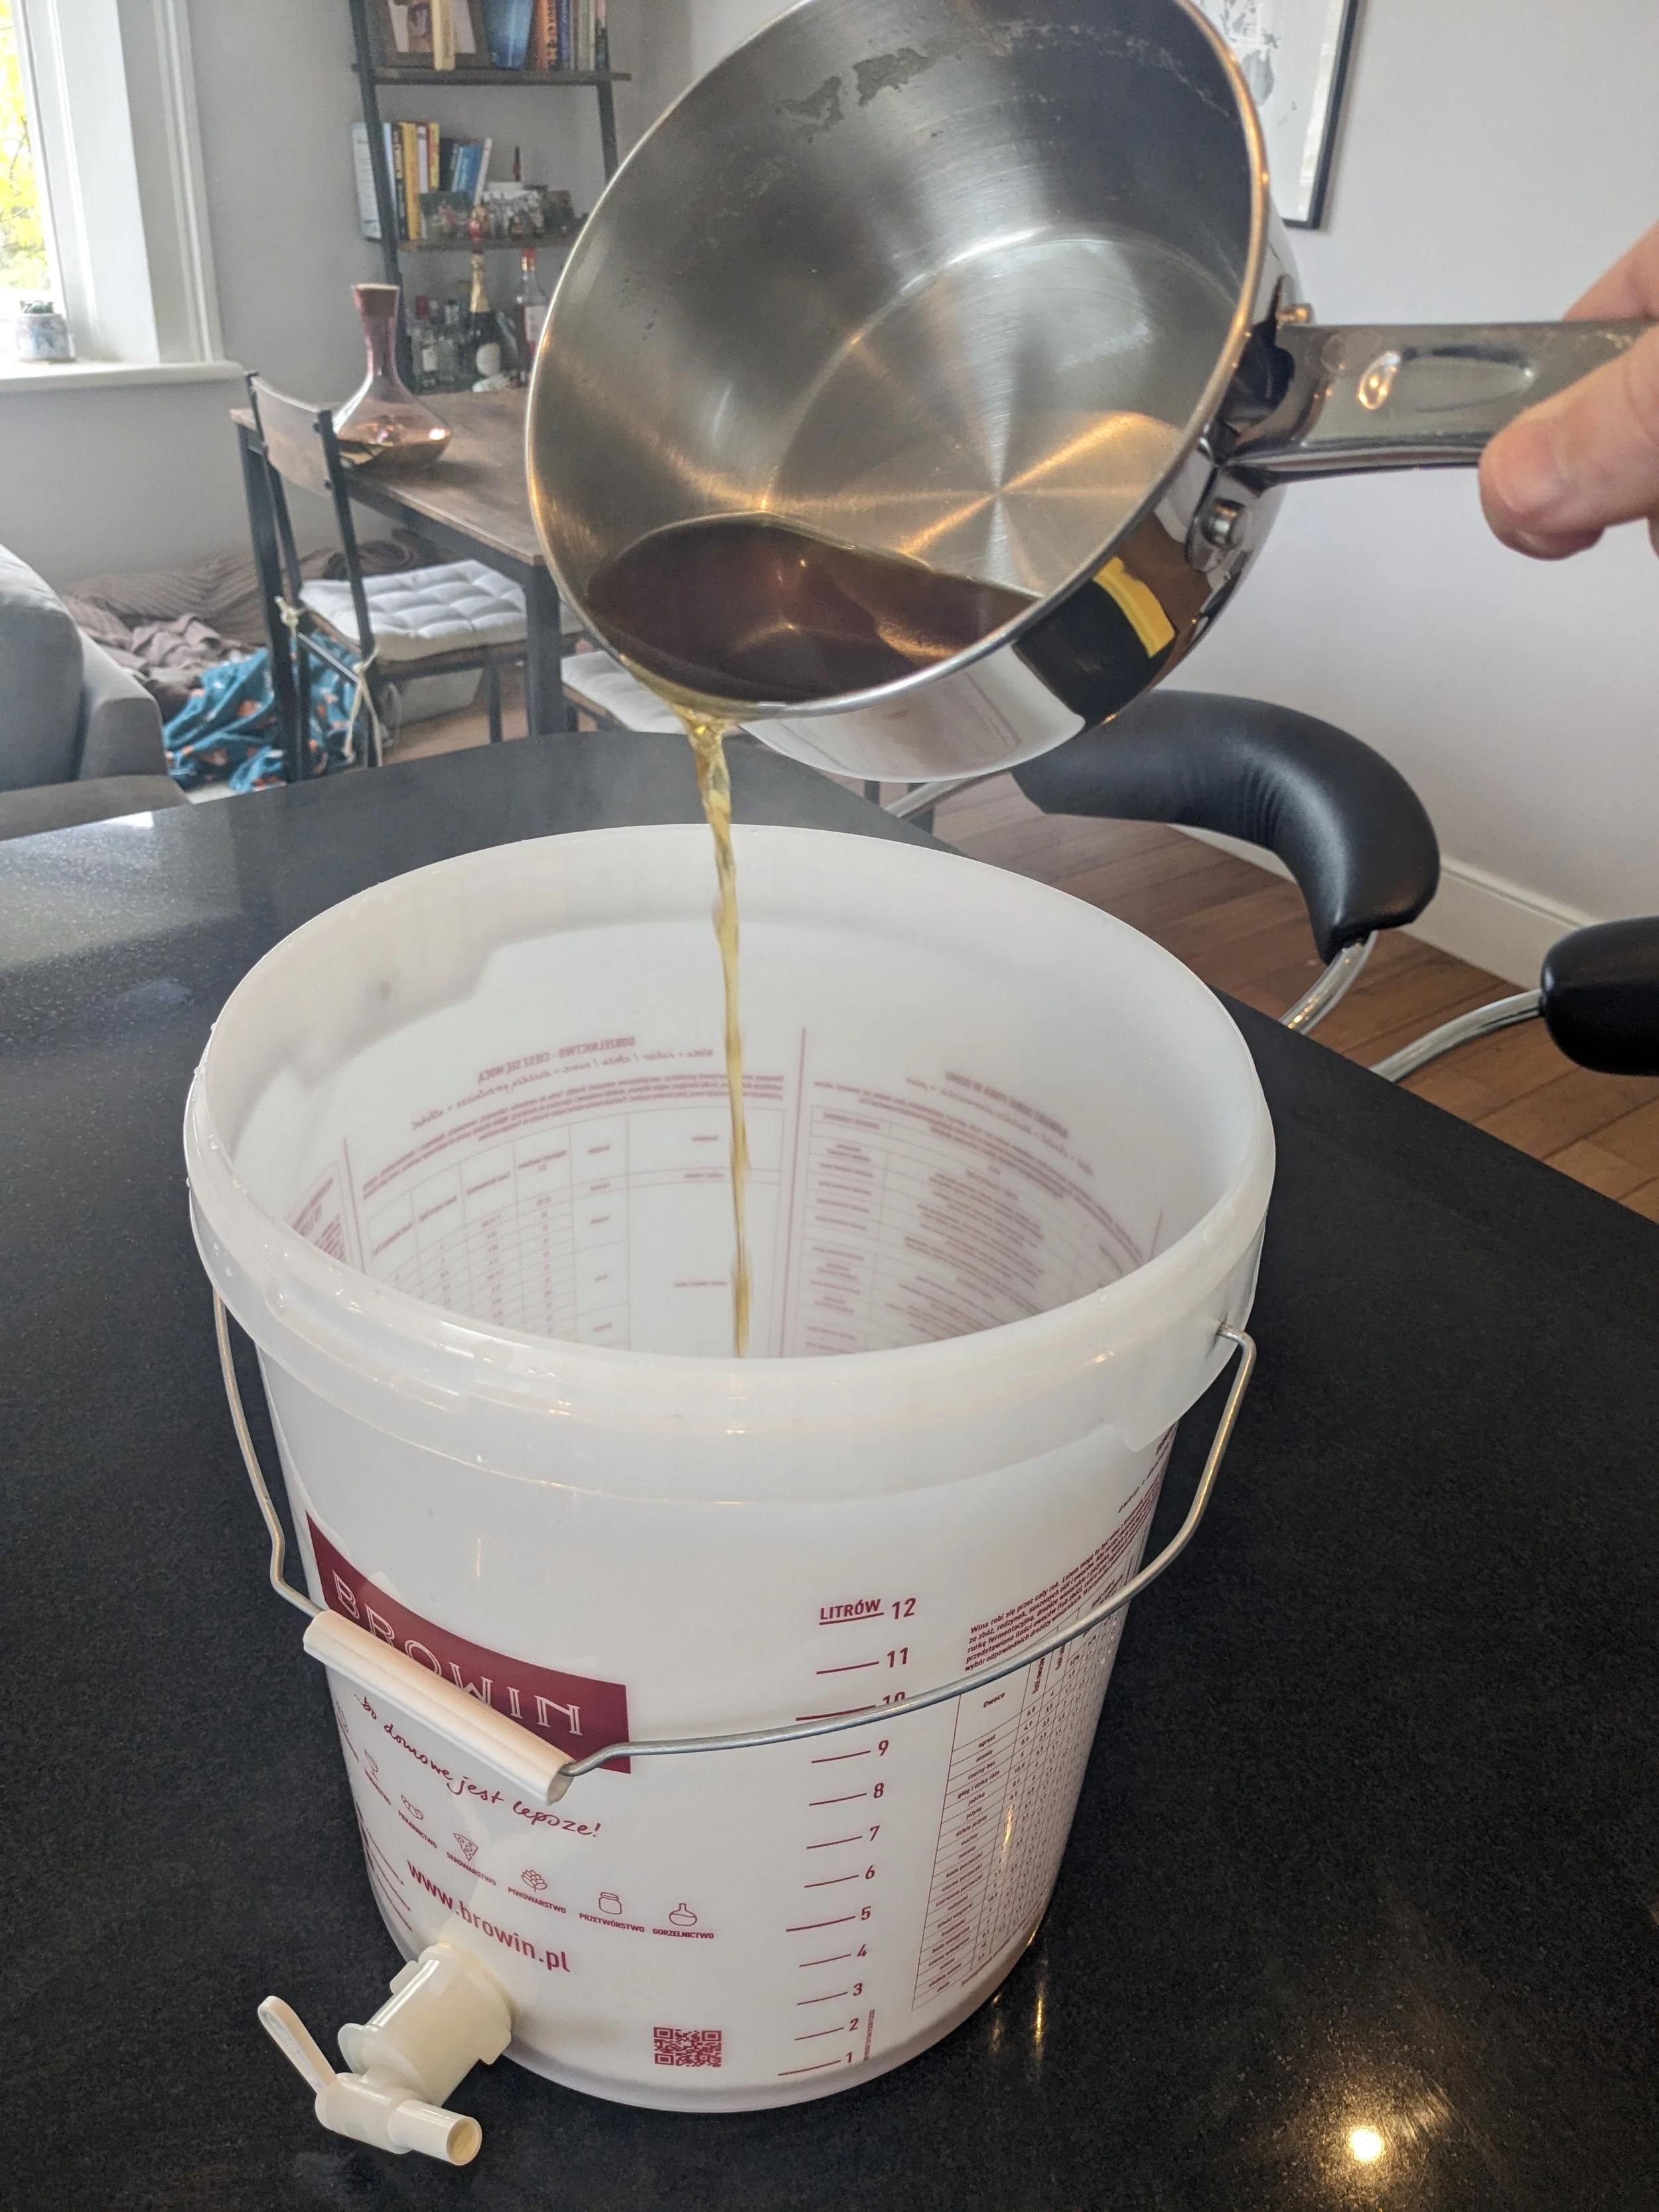
Step 1: Add the sugar and teabags to a saucepan. Then add boiling water to cover and simmer for 3-5 minutes

Step 2: Extract the tea bags

Step 3: Pour the hot liquid into the clean fermenter (making sure the tap is closed!)
Step 4: Fill the fermenter up with warm water (around 40 degrees Celsius or 104 Fahrenheit) to the 10 litre mark

Step 5: Add the SCOBY and the apple cider vinegar
Tip: Don’t add the SCOBY until this point as the very hot tea liquid would kill the microbes in the SCOBY

Step 6: Drape a clean tea towel over the opening of the fermenter and hold in place with a large rubber band or string
This is so more natural bacteria can enter and contribute to fermentation and diversity, while preventing other things such as dirt and insects from getting in

Step 7: Leave the fermenter somewhere warm, but out of direct sunlight, to ferment
I keep mine in my warm boiler cupboard in winter which keeps the fermentation going at a nice pace. But don’t leave very close to a radiator though
When to bottle your kombucha
Depending on the health of your SCOBY and the temperature, fermentation will be done in around 5-14 days. As fermentation goes on, the bacteria will multiply and eat more of the sugar while making the kombucha more sour.
After 5 days, taste the kombucha every couple of days and bottle it when it starts to get slightly to moderately sour. The bacteria will continue to eat the sugar and make it more sour after you have put it in bottle, so don’t wait until the kombucha in the fermenter is super sour as it might be unpalatably sour by the time you drink the bottle.
Also, if you ferment out almost all the sugar in the fermenter, there will be little sugar left to ferment in the bottle and carbonate it (unless you add more fruit sugar, as we will discuss below).
The bottling process
Step 1: Take the fermenter and put it on your kitchen top with the fermenter tap above your sink
Take care not to slosh the liquid too much as a lot of sediment will have fallen to the bottom which we don’t want to disturb or bottle

After taking off the tea towel, your SCOBY should now look something like the picture below with at least a thin layer of SCOBY covering the whole surface of the kombucha (which this ferment does have but it’s quite transparent and hard to see here). This layer helps protect the fermentation from mould and prevent other unwanted things getting into the fermenting liquid below.
In this photo you can see a couple of SCOBYs I bought online (the darker sections to the left) and some healthy SCOBY formed in my previous batches (the whiter section to the right).

Step 2: Using tongs, take out the SCOBY and put it into a swing-top jar
Step 3: Fill this jar with kombucha from the tap and then place it in the fridge for your next batch
This dramatically slows down the microbes activity, while not killing them. It is likely your jar will leak as the slow fermentation continues, so open the jar every few days (especially near the beginning) to release gas and discard some liquid if needed

Step 4: If you want to add fruit, put some in the bottom of your clean bottles
As a guide, I would usually add 6-8 blueberries or 5 cherries to a 1 litre bottle
Note that the more sugar you add in the form of fruit now, the more it will ferment in the bottle and likely leak at the top - which is fine but just prepare for mess!
Step 5: Fill the bottles with kombucha from the tap leaving an inch or so space at the top

Step 6: As you get to the bottom of the fermenter, you will reach the trub (ie sediment) which is largely dead yeast cells. The liquid will become murky as these cells get disturbed and become suspended in the liquid. You should only keep filling bottles while the liquid going into your bottles is relatively clear. You may have to tilt the fermenter slightly towards the end to keep the flow going into the tap.
You will usually bottle 8-9L from this recipe

Step 7: Now detach and disassemble the tap and clean it, and also rinse and clean out the fermenter and leave it to dry.

Step 8: Leave your bottles out of direct sunlight (ideally in a cupboard) to ferment more and carbonate
It will take a few days or more to carbonate the bottles, but the kombucha is okay to drink from any point
If the bottles are fermenting too much or leaking a lot, you might want to move them somewhere colder like a cellar or the fridge to calm down the fermentation process
It’s best to put the bottles on a tea towel or on something which can get wet if the bottles do leak
Step 9: Ideally when the bottles are carbonated after a few more days, put a bottle in the fridge ahead of drinking!
The next batch
When it comes time to do the next batch and add the SCOBY (which is now in your fridge in a jar full of kombucha from the previous batch), just pour the whole contents of the jar in when it comes time to add the SCOBY as described in the brewing process above.
Method variant
(If this section confuses you, please ignore it!)
It is possible to save time on the overall kombucha making process by doing brewing and bottling at the same time - but it all depends on timing!
In a perfect world, you would be bottling one batch of kombucha at the same time as you were ready to brew the next. But this depends on you drinking enough bottles from the previous batch (so you have bottles available for the next bottling) at the same time as fermentation has completed on the current batch in the fermenter. Although unless you have multiple kombucha drinkers, it’s probably unlikely that you would drink around 9 litres of kombucha in the week or so it takes a batch to ferment in the fermenter.
However if you can make this timing work, the variant process would be to take the SCOBY and one litre of kombucha from the fermenter which has just finished, put both in a bowl or similar to hold for a while, and then put those back into the fermenter for the next batch at the appropriate point in the brewing process. (Just be sure to give the fermenter a rinse after bottling as you will want to get rid of the yeast strands and trub/sediment in the bottom of the fermenter before putting a new batch in.)
The advantage of this variant method is that you save time by not needing to thoroughly rinse, dry and store the empty fermenter after bottling and you don’t need to put the SCOBY in the fridge. And you obviously get to do bottling and putting down a new brew in one process which saves on clean-up time and increases efficiency.
Flavour experimentation
On subsequent batches I’d encourage you to experiment with different types of tea, fruit, herbs and spices. And also adjust the quantities of ingredients to suit your taste.
For each increase or decrease, I’d recommend only doing it by 10-20%. This makes it less possible you’ll spoil the next batch by over or underdoing something.
When adding new fruit, herbs or spices, I’d also recommend to take a cautious approach initially and put only a small amount in. And then increase that by 10-20% if necessary in subsequent batches. It’s far better to have subtle notes of something than it is to have an overpowering flavour which ruins your whole batch!
Remember to keep a record of what you change so you can assess what can be further improved when you come to drink it.
Enjoy!
Health benefits of kombucha
The main health benefits of kombucha come from the probiotics, postbiotics and the green tea in the drink.
Probiotics
These are the beneficial living microbes you are ingesting with every sip!
Probiotics offer many health benefits including:
better digestive health
better immune function
reduced inflammation
reduced allergies
better nutrient absorption
Postbiotics
In simple terms, postbiotics are essentially things probiotics produce. These include short-chain fatty acids which nourish our gut lining and may help reduce symptoms of irritable bowel syndrome.
Personally, I find that kombucha calms my gut which I (rightly or wrongly!) put down to the presence of postbiotics.
Green tea
Green tea contains polyphenols which are strong antioxidants.
Studies have shown green tea may also:
increase the amount of calories you burn
improve cholesterol levels
help control blood sugar levels
Read more about the evidence-based benefits of green tea and kombucha.
Our favourite gut health products in the UK
YourBiology Gut+ probiotic not only offers 10 strains of probiotics, but also includes two types of prebiotics, three digestive enzymes and vitamin D for gut health support. All this means it offers a lot more benefits for gut health and general health than most probiotic supplements do
Symprove probiotic - developed by scientists, supported by clinical studies and superior at colonising you gut. Use discount code HELLOGUT50 for 50% off the first three months
Healthpath gut health test is the UK’s most comprehensive gut health test. It tests over 100 biomarkers, checks your digestion and immune response, analyses leaky gut and provides a clear and understandable report on your microbiome
Read more about the best gut health products in the UK.
Our favourite gut health products in Australia
YourBiology Gut+ probiotic not only offers 10 strains of probiotics, but also includes two types of prebiotics, three digestive enzymes and vitamin D for gut health support. All this means it offers a lot more benefits for gut health and general health than most probiotic supplements do
FixBIOME is a natural and very evidence-based supplement which is specifically designed to get your gut back into good shape. Perfect for those who need a gut reset
Read more about the best gut health products in Australia.
Your writer
This article was written by Travis - learn more about me!
Or learn more about the basics of gut health.

Recommended reading

